


Installing WAMP on Windows 11
Installing WAMP on Windows 11: A Step-by-Step Guide
WAMP stands out as a well-known web development platform that seamlessly integrates Apache, MySQL, and PHP into a unified and straightforward-to-install package. Whether you’re in the process of crafting a straightforward website or a more intricate web application, WAMP proves to be a reliable and adaptable environment for meeting your development needs.
In this blog post, we’ll walk you through the step-by-step process of installing WAMP on Windows 11, providing detailed instructions and helpful screenshots. Furthermore, we’ll cover frequently asked questions to ensure a seamless and trouble-free installation experience.
Important: Before proceeding, ensure your system meets the minimum requirements for WAMP:
- Operating System: Windows 11
- Processor: 1 GHz or faster
- RAM: 2 GB or more
- Hard Disk Space: 2 GB or more free space
Preparation:
- Install WAMP: Visit the official WAMP website (https://www.wampserver.com/en/) and download the most recent version that is Windows 11 compatible. Depending on your system, select either the 32-bit or 64-bit version.
- Disable Antivirus Software: Some antivirus software may interfere with installation. Consider momentarily disabling and then re-enabling your antivirus program during installation.
Installation:
- Run the downloaded installer: To begin the installation procedure, double-click the downloaded WAMP file.
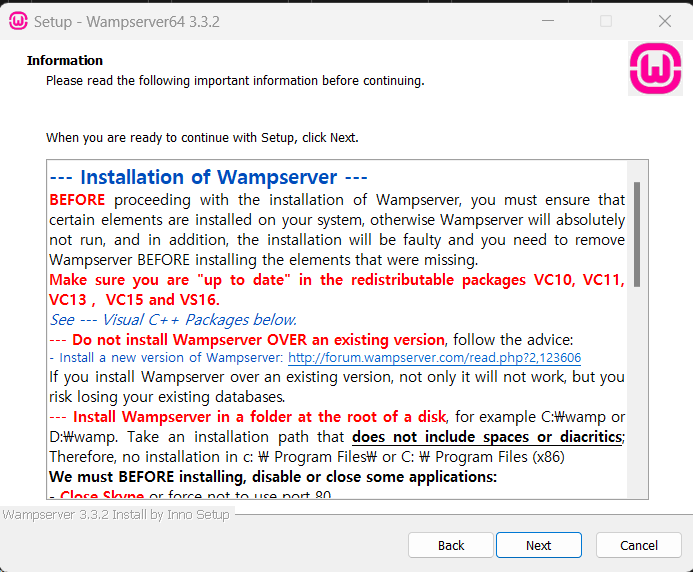
- Welcome Screen: Click “Next” to proceed.
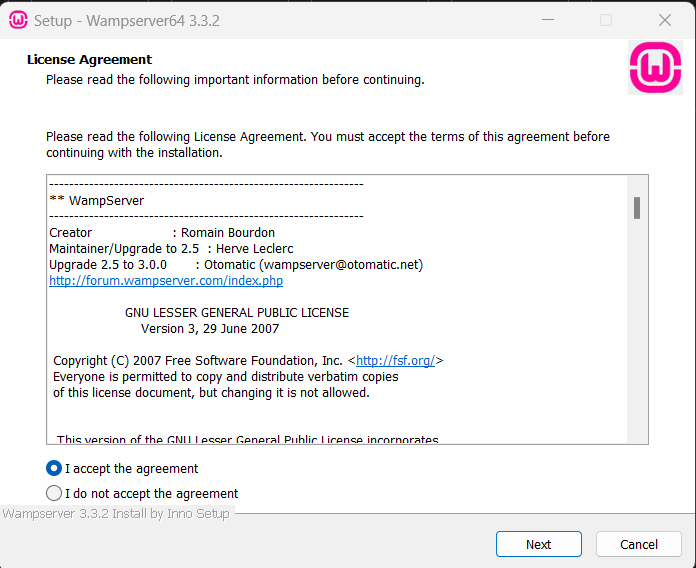
- License Agreement: Once you’ve carefully read the licensing agreement, mark “I accept the terms in the license agreement” to indicate your agreement. Press “Next” to proceed.
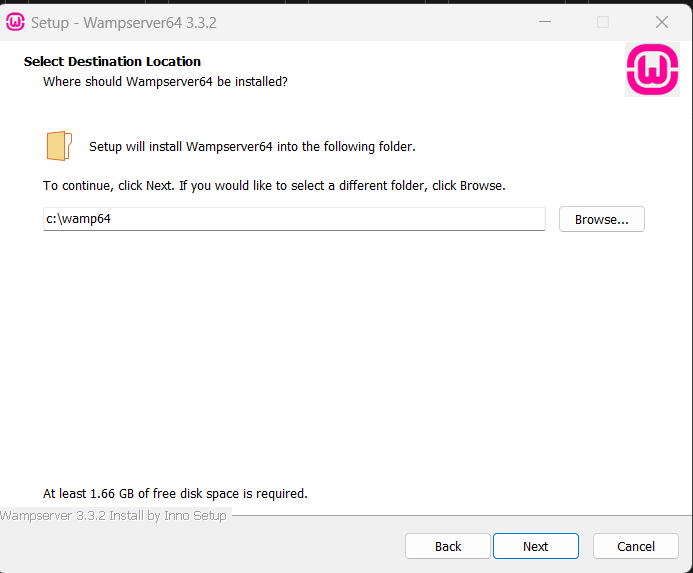
- Choose Installation Directory: Choose the directory in which WAMP should be installed. It will be installed in C:\wamp64 by default. Click “Browse” and select the directory you wish to use if you would rather be somewhere else. Press “Next” to continue.
- Additional Components: You can select other components, including OpenSSL and phpMyAdmin (a web-based interface for managing your MySQL databases), that you want to install with WAMP on this screen. After making your selections, press “Next”.
- Ready to Install: Verify that everything is correct by going over the installation summary. To start the installation procedure, click “Install”.
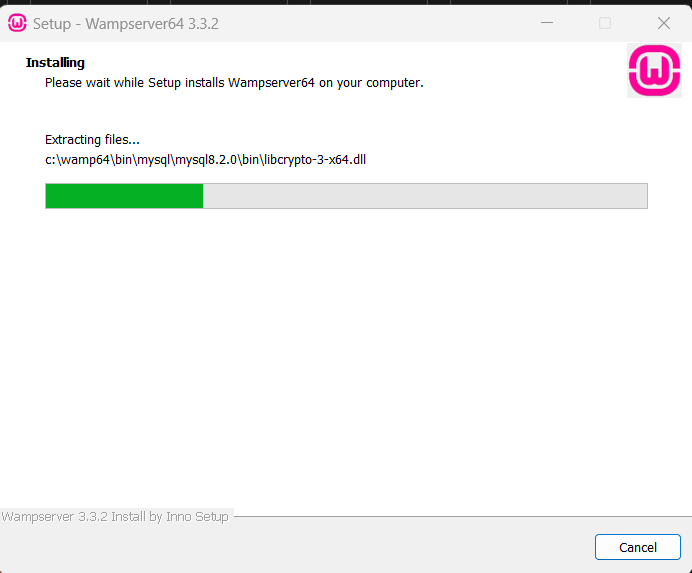
- Installation Progress: The next screen will show the status of the installation. Hold off until the installation is finished.
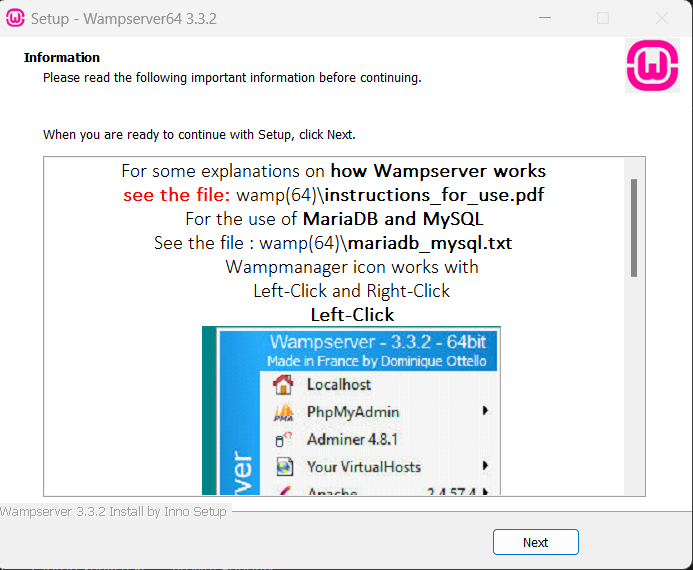
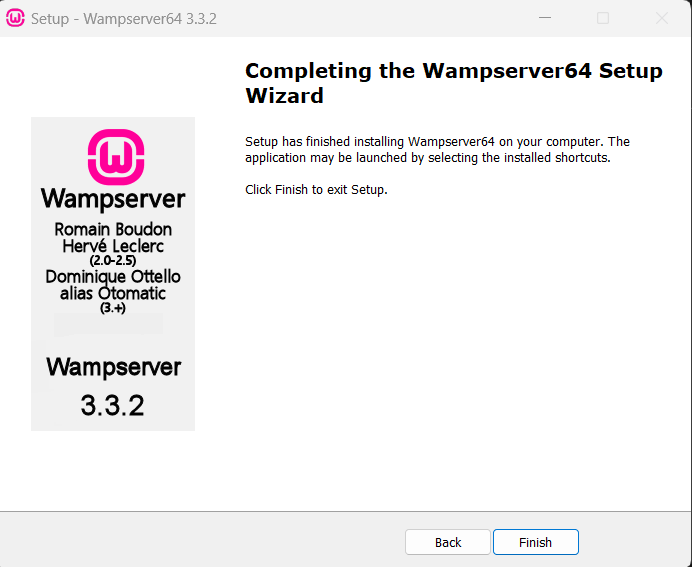
- Finish: Click “Finish” to complete the WAMP installation process.
Starting WAMP:
- Locate the WAMP icon in the system tray (bottom right corner of your taskbar).
- Click the WAMP icon and select “Start All Services”.
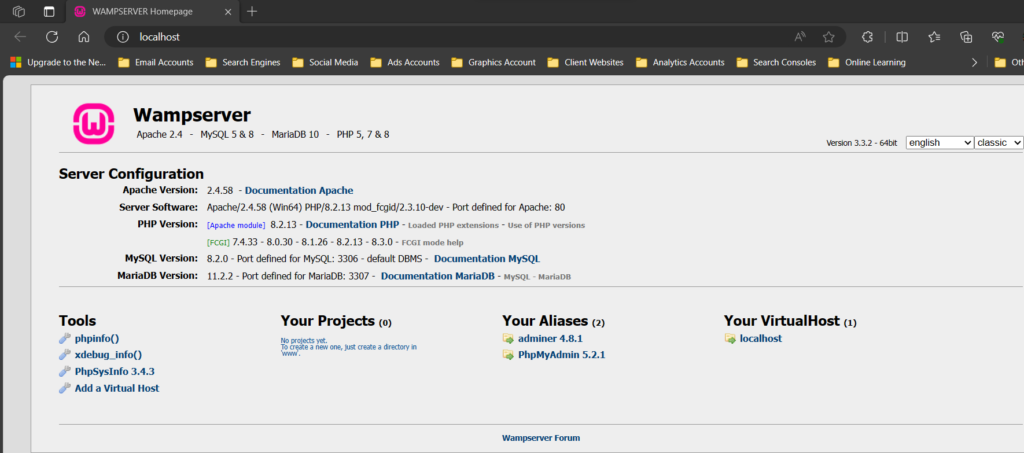
- WAMP is now running! You can confirm this by opening your web browser and navigating to http://localhost/. If everything is installed correctly, you should see the WAMP default homepage.
Frequently Asked Questions(FAQ’s)
Q: Do I need to disable my antivirus software before installing WAMP?
Ans: To prevent any potential problems during the installation process, it is advised that you temporarily disable your antivirus software. After the installation is finished, don’t forget to reactivate your antivirus software.
Q: What if the installation fails?
Ans: If you encounter any errors during the installation process, check the WAMP documentation (https://www.wampserver.com/en/category/documentation-en/) for troubleshooting tips. You can also search online forums for solutions to specific error messages.
Q: How do I access my MySQL database?
Ans: WAMP includes phpMyAdmin, a web-based interface for managing your MySQL databases. You can access phpMyAdmin by navigating to http://localhost/phpmyadmin in your web browser.
Q: How do I uninstall WAMP?
Ans: To uninstall WAMP, open the Control Panel and navigate to “Programs and Features”. Select “WAMPServer” from the list and click “Uninstall”.
Q: Where can I find more information about WAMP?
Ans: The official WAMP website (https://www.wampserver.com/en/) offers extensive documentation, tutorials, and forum support. You can also find a wealth of information about WAMP by searching online.
Conclusion:
Installing WAMP on Windows 11 is a simple process. You can have your development environment up and running in no time if you follow the guidelines in this blog post. Remember to check the FAQs for answers to frequently asked questions as well as helpful resources for extra help. Now go on and create fantastic web applications!